Today we will complete step by step guide on how to create Payoneer account in 2024.
Payoneer is a New York-based financial services company specializing in instant online money transfers and digital payments. Bloggers and freelancers around the world use this mode to get paid. Payoneer is a great PayPal alternative because it offers lower transaction fees and more security.
In addition, if you have a Payoneer Account, Payoneer will provide you with a free MasterCard. This Payoneer MasterCard can be used to withdraw cash from any ATM machine. Payoneer is a payment method used by many multinational corporations such as Google, Amazon, Airbnb, Upwork, and Firefox.
Freelancers and business owners prefer Payoneer only because of the features I will list below.
Please follow every step to make a Payoneer account and make sure to put every information 100% correct when starting to create a Payoneer account.
Step 1: Collect all Documents required for creating Payoneer.
Step 2: Click on the Account Sign-Up and Earn $25.
Step 3: If you are a freelancer then click on “Freelancer, Service Provider, or SMB“.
Step 4: Here just click on “Get paid international clients or freelance marketplaces“.
Step 5: Now pick “My Monthly Volume is” less than $10,000.
Step 6: In this step click on the “Register” button. The actual registration process will now begin. Fill in the business type and personal information below.
Step 7: Now select account type Individual and enter 100% correct details in every field such as
Step 8: Now It’s time to enter “Contact Details” in Payoneer.
Step 9: Now on the next page, you need to fill in some “ Security Details“.
Step 10: In this step, we enter bank details to create a Payoneer account and use it to withdraw money from Payoneer.
Step 11: Congratulations. Review in Progress.
Step 12: Now you can open your Gmail Account and see two new emails. One email is “Verify Email Address” and the Second is “Application Is Under Review“.
Step 13: You just open “Please verify your email address and then click on ” Verify My Email“.
Step 14: Go to the Payoneer website and click on the sign-in button.
Step 15: Now enter your email and password and click on sign in.
Step 16: After login goes to Payoneer> Settings > Verification Center.
Step 17: Click on Account Verification and then click on Government Issued Photo ID.
Step 18: Now here you can upload the front and back sides of your ID document. Check Sample here
If you complete all steps including uploading an ID card then it will take one business day. It usually takes 3 to 5 business days to approve.
























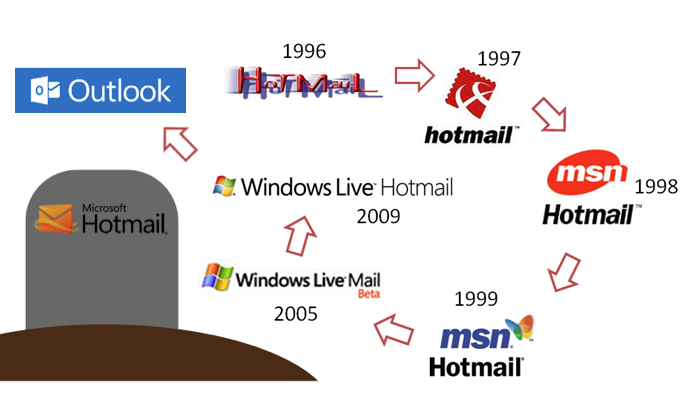
















Buy hotmail account | Buy outlook account | Hotmail account for sale | Buy Aged Hotmail Accounts - Buy Old Outlook Accounts | Outlook account for sale | Hotmail - Outlook Email account for sale | Buy email account | Mail For Sale | Mailforsale
- Using email accounts for illegal purposes is strictly prohibited. We are not responsible for any misuse of resources
